Learn how to create graphic organizers with AI two ways, with Monsha's purpose-built tool or a chatbot like ChatGPT. Free, printable, ready for class.
A graphic organizer is just a simple visual that helps students sort out their thinking. A Venn diagram for compare and contrast. A KWL chart at the start of a unit. A story map before a writing assignment. I've used these in just about every subject I've taught, and they still earn their place.
The organizer itself was never the hard part. It's all the work around it. You track down a template on Pinterest or TPT, then tweak it so it fits your lesson and your grade. You fill it in so it matches the text your class is reading this week. Then you make a second version for the students who need more support, maybe a blank one for class and a filled-in copy for yourself, maybe a few sentence starters, maybe an easier reading level. Do that across a week of lessons and there goes your evening.
Most of us aren't after anything fancy. I just want a clean organizer that fits the lesson, sits at the right grade, and is ready to print. Simpler is usually better, and it took me a while to learn that.
What changes with AI is the starting point. Instead of a blank template you fill in yourself, you start with one that already has your lesson in it, at the grade you teach.
Now, here's how to create graphic organizers with AI, two ways, with a free printable either way.
A graphic organizer is a visual frame that gives students a place to lay out information so the relationships between ideas are easy to see.
What AI changes here is narrower than you might think. The starting point changes: the draft arrives with your lesson already in it, and the easier version becomes a quick follow-up instead of a second build. What AI doesn't touch is everything that makes an organizer work for your students:
AI can hand you a full organizer in about the time it took to read this. I still read each one before class, and whether it fits the kids in front of me is still mine to decide. That part doesn't change.
Start with the thinking you want from your students, then pick the layout that fits. That order matters more than it sounds. The same passage can turn into a Venn diagram if you want students comparing two ideas, or a sequence chain if you want them tracking what happened first. Pick a layout that doesn't fit the task, and the organizer just gets in the students' way.
A quick way to choose is to name the mental move you want, then grab the organizer built for it. Here are the main layouts, grouped by what you're asking students to do.
For reading comprehension, the read-and-write organizers are the ones with the most research behind them. A research review covering students with learning disabilities found organizers like story maps were tied to real gains in comprehension. That's worth knowing if those are the students you're planning for.
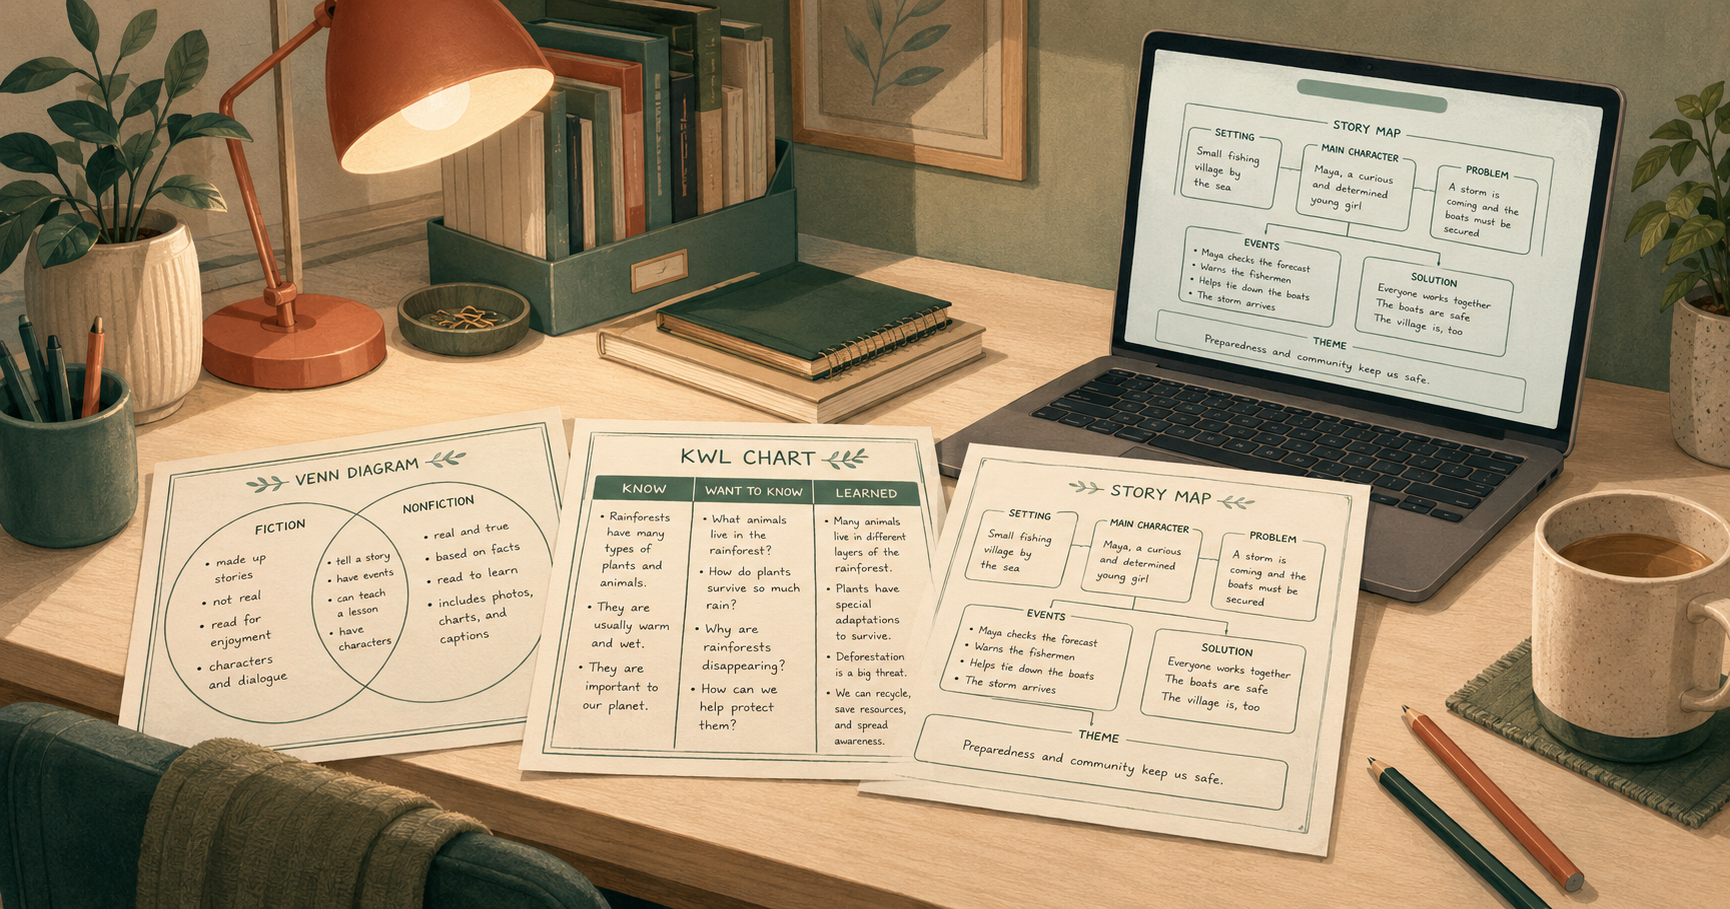
There are loads of organizer types out there, and you don't need all of them. A handful cover most of what comes up in a classroom: the Venn diagram and T-chart for sorting, the KWL chart to open a unit, the Frayer model for vocabulary, the story map for narrative, the timeline for history. Open Monsha's Graphic Organizers gallery and that's roughly the set you'll see, 20+ layouts plus a Custom option for anything that doesn't fit a standard shape. If a lesson calls for it, feel free to mix two in one resource.
.gif)
A gallery that size can make you feel like you should reach for the elaborate one. Most lessons just need two clean columns and a clear question. Pick the type that matches what you're teaching, and you're ready to build it. That's the next part, and it's where it gets easier.
Monsha is built for this exact job. You start from your own lesson material, pick a layout, and it hands back a finished, on-grade organizer you can print. It's free to start, no credit card. You'll find it at Monsha's AI graphic organizer generator.
Start to finish, it's five steps.
1. Open the Graphic Organizers tool. Sign up or log in at app.monsha.ai, then open Graphic Organizers from All Tools. You'll land on the Create Graphic Organizer page.
2. Tell it what you need, and give it your source. In the Describe your requirement box, say what you want in plain words, something like "a KWL chart to open a unit on photosynthesis." Then click Attach and point it at your real material: a Video (a YouTube link), a Website, a File, pasted Text, or another Monsha Resource. This is the step that does the real work: give it the actual passage or video, and the organizer comes back about your lesson instead of a generic take on the topic.
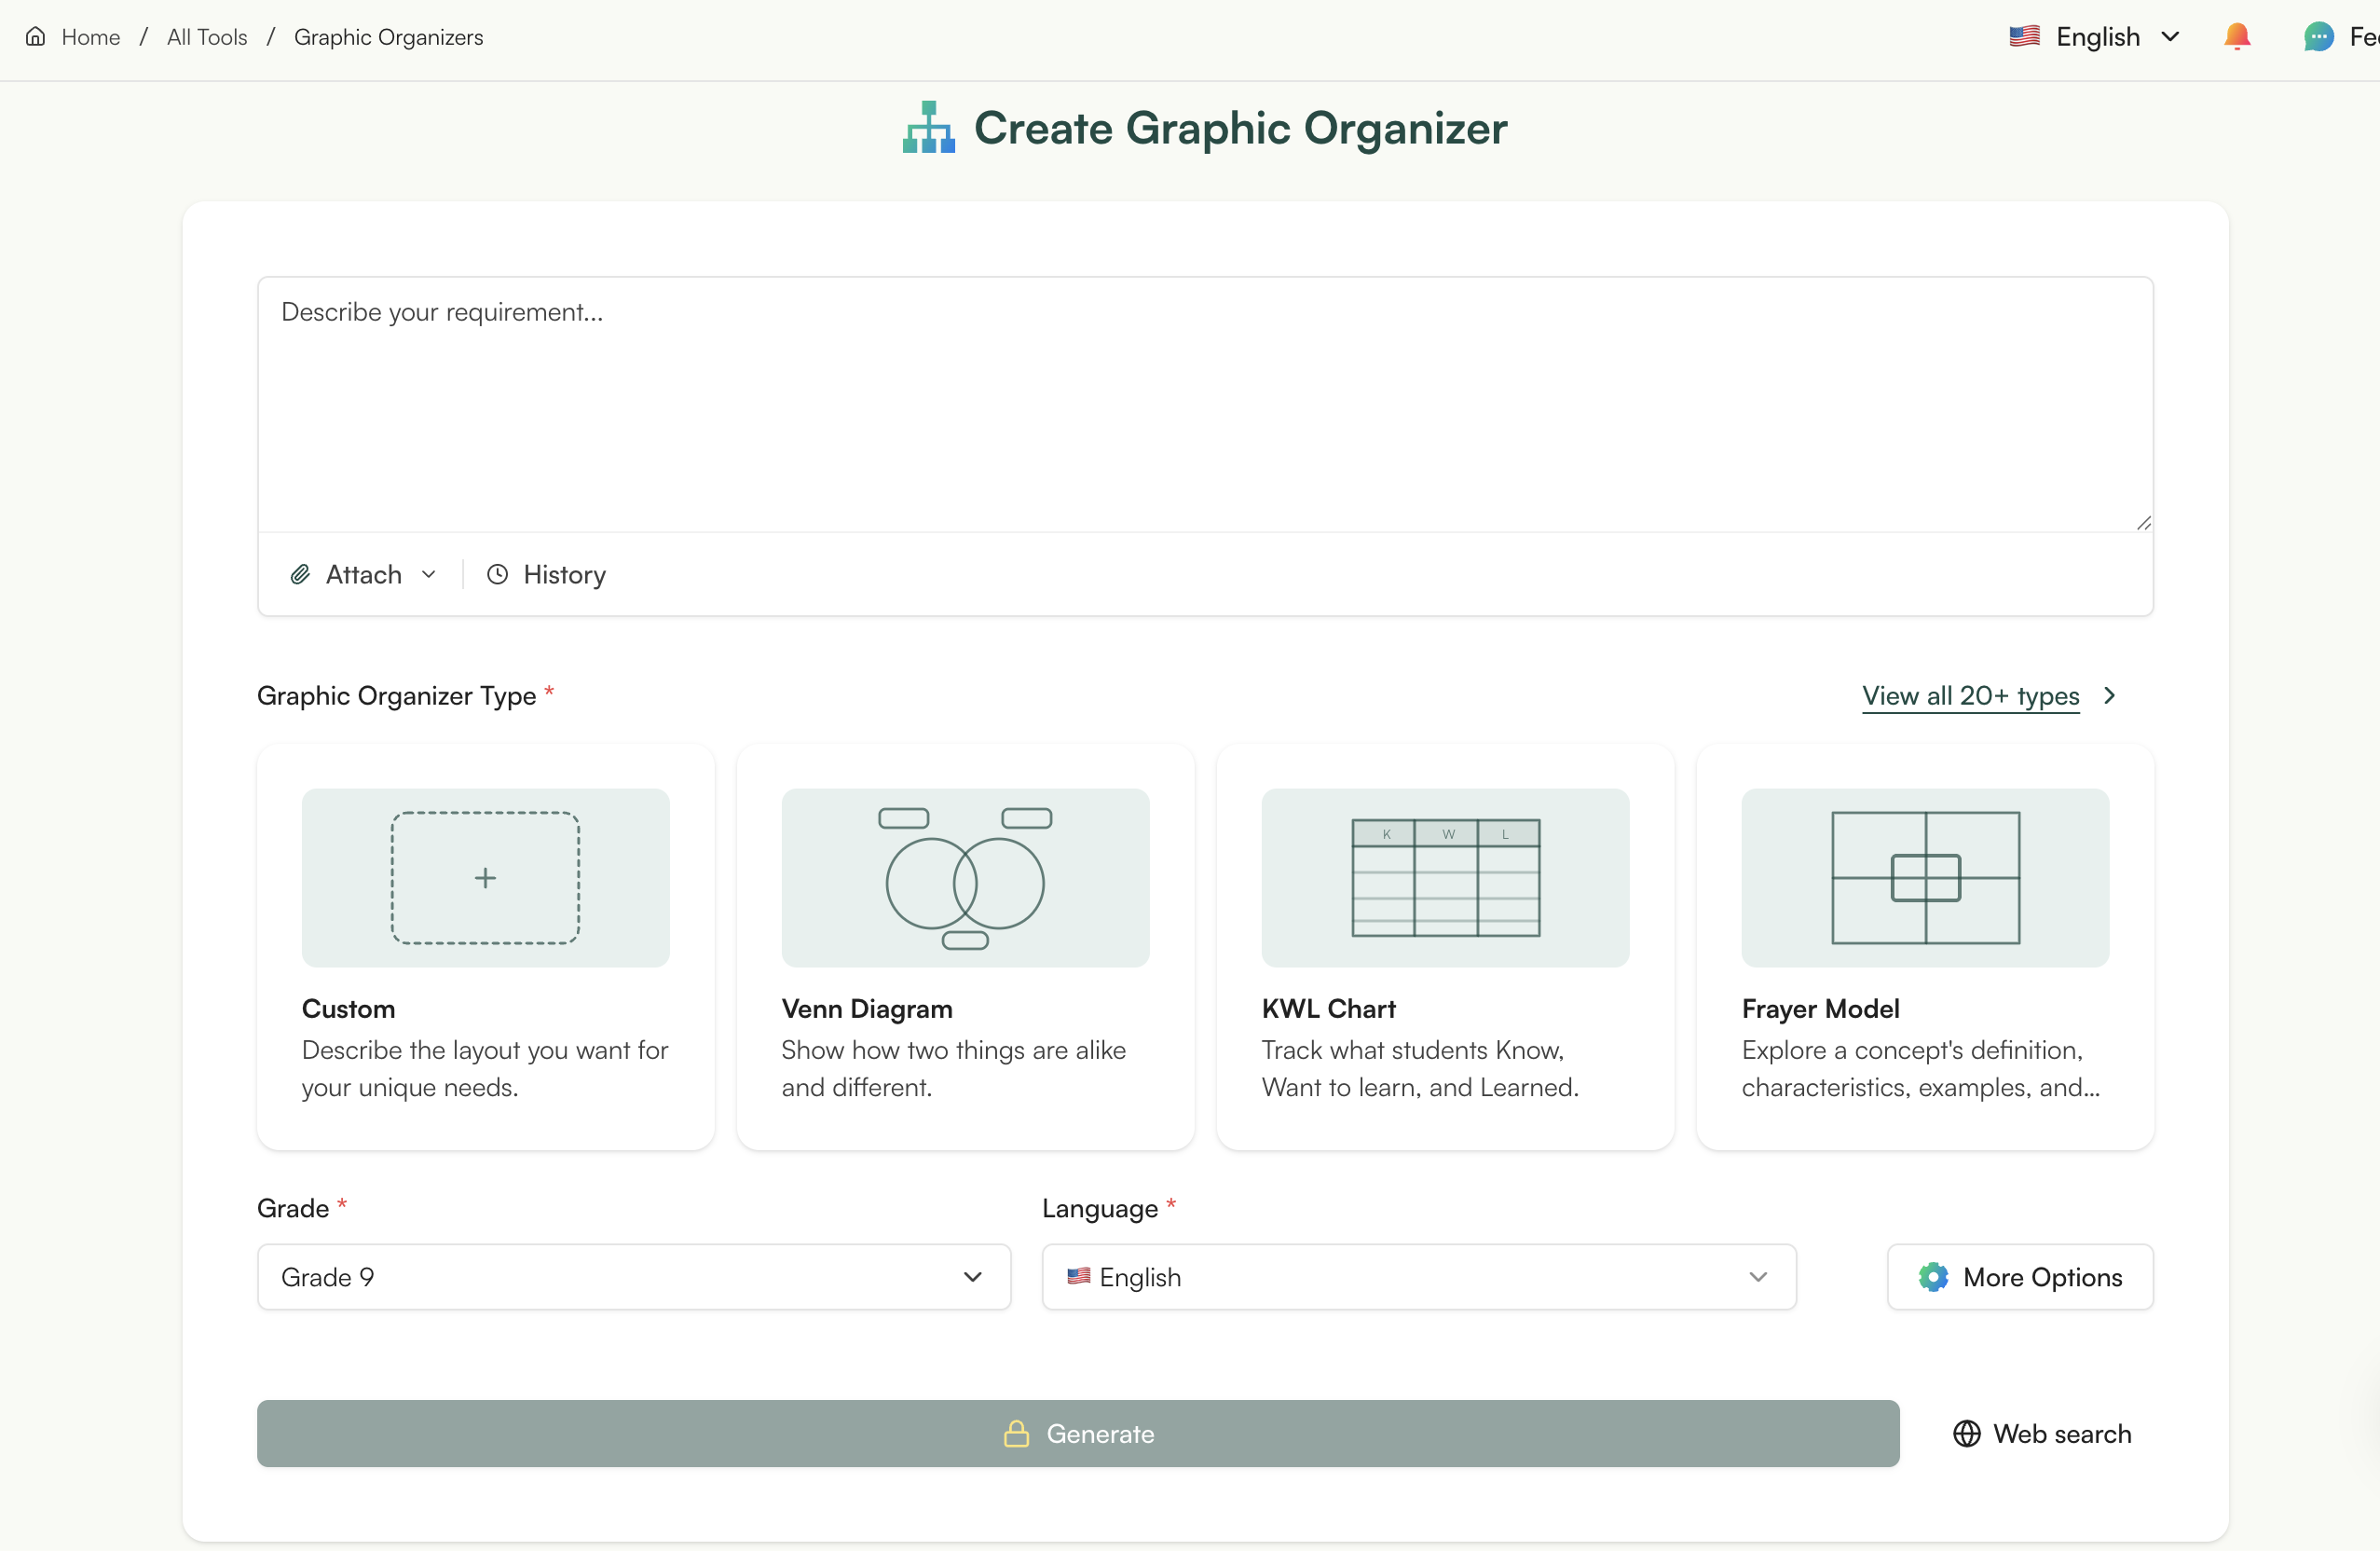
3. Pick your organizer type. Choose a layout from the cards, Venn Diagram, KWL Chart, Frayer Model, and the rest, or click View all 20+ types to open the full gallery. If nothing fits, pick Custom and describe the shape you want, or upload a picture of an organizer you already use, from Pinterest or TPT, and Monsha builds your lesson into that layout.
Monsha includes 20+ graphic organizer layouts, plus a Custom option for anything else:
4. Set the grade and language. You do need to set both. Grade is what brings the reading level close to your class from the start, and Language sets the output. If you want, More Options lets you attach the organizer to a lesson, assign standards, or adapt it to a framework. You can skip all of that and still get a finished organizer.
5. Click Generate. Monsha opens the organizer on its own page, tagged with the type, grade, and language, and builds it from your source. It takes a few moments, and it keeps going if you click away.
e first time I ran one, the part that surprised me wasn't the layout. It was opening the page and seeing the organizer already shaped around my own lesson, the part that used to be the whole job, already done.
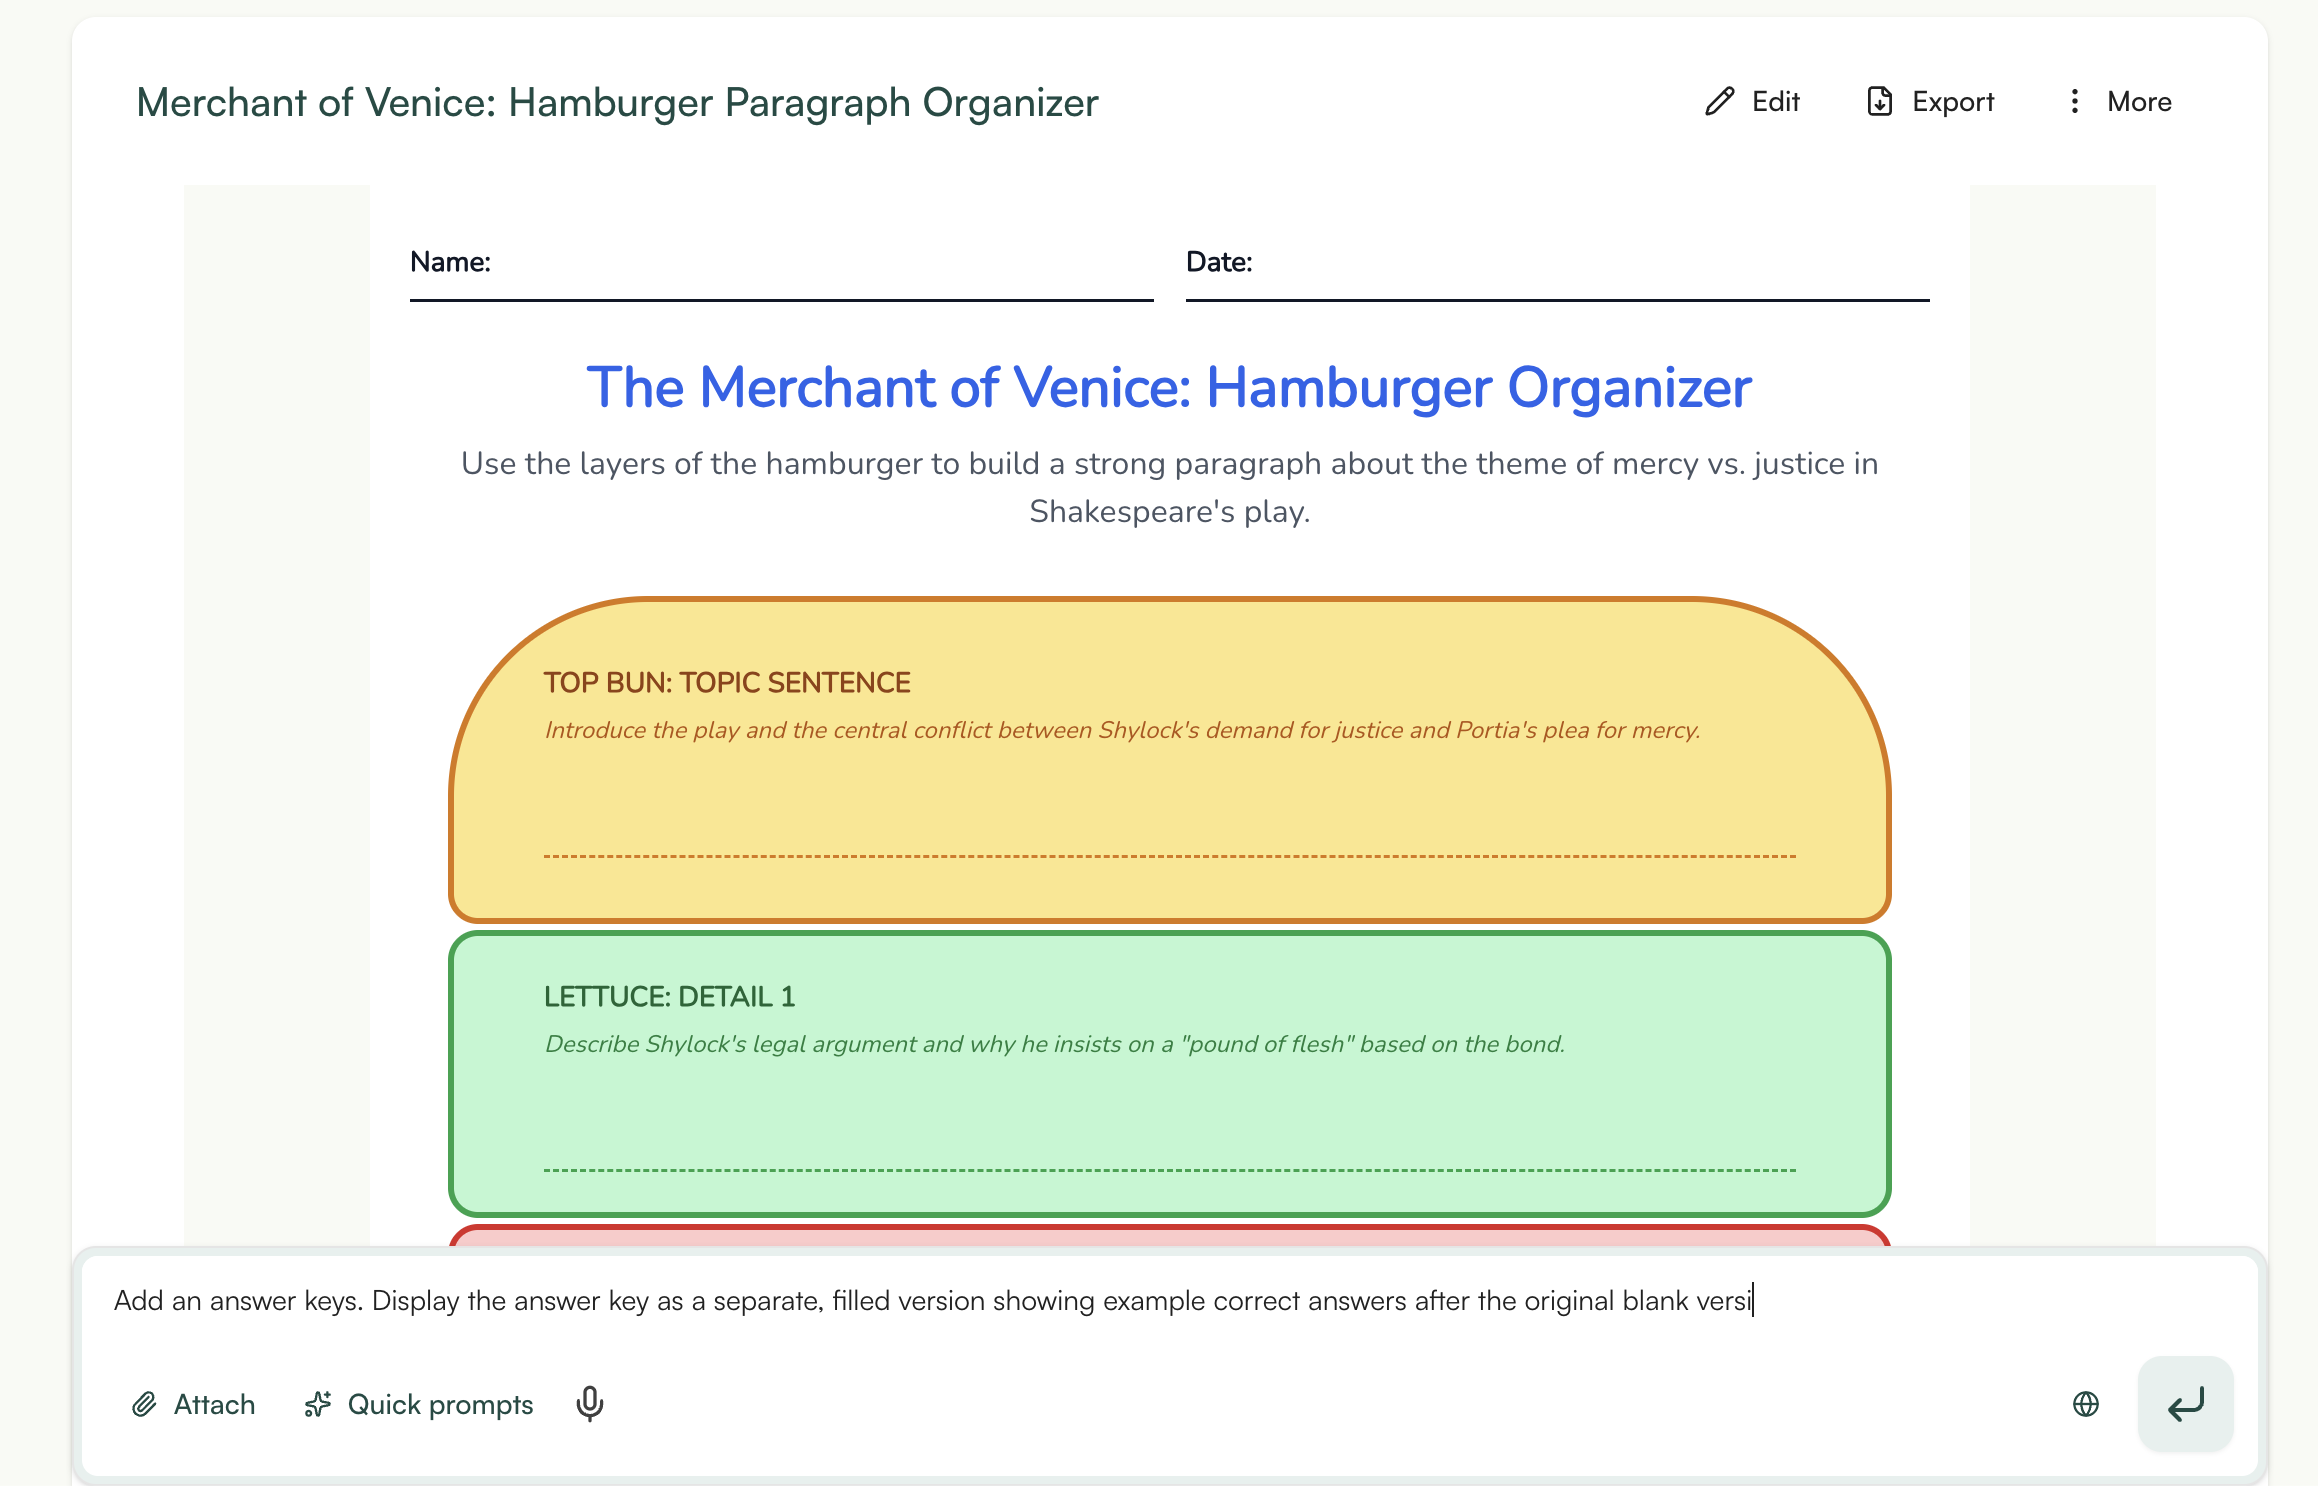
Here's the part that usually eats the evening. One organizer is never really one organizer: there's the blank copy for the class, the answer key for you, the easier version for the students who aren't there yet, the sentence starters. Those are the second and third versions that, on a normal week, quietly don't get made.
In Monsha you make them from the organizer you already have. Open Quick prompts under the organizer and pick the move:
Three reading levels of one organizer usually means triple the work. Here each one is a click off the version you already have.
If a line isn't quite right, you can edit text on the page, but the reliable way, and the only way for the diagram types, is to tell Monsha what to change in the chat box under the organizer. Something like "simplify the second column" or "add one more item to the K section" does it, and once you've done it once, it's no slower than typing. Fair warning on the diagram-heavy shapes: a Venn Diagram, a fishbone, a concept map, those are drawn as images, so the inline editor won't touch them, and they export and print as a clean picture rather than text you can retype in Word.

When it reads the way you want, export it:
That's a finished, on-grade printable built from your own lesson, ready for Monday. If you'd rather work in a tool you already have open, the next method does the same job with a regular AI chatbot.
Say you don't want to open another tool. You've already got ChatGPT or Claude in a tab, and you just want the thinking sorted out. A regular chatbot is good at exactly that. Tell it your topic and the layout you want, and it'll give you a tidy list of what belongs in each box. What it won't give you is the box. Most chatbots write text, not the visual frame your students fill in, so the building is still yours to do.
That's not a knock on it. It just changes what you ask it for: use the chatbot for the wording and the structure, then build that into a printable yourself.
The key is to have the chatbot act like a designer rather than a search box. Here's a template you can paste and fill in:
You are a graphic organizer designer. Create a printable [organizer type] for [topic], for a [grade level] [subject] class. Include: a title, clear student instructions, all the headings or labels the organizer needs, the content filled in from this material: [paste your passage], and a few optional teacher tips.
Filled in for a real lesson, it looks like this:
You are a graphic organizer designer. Create a printable T-chart comparing weathering and erosion, for a 5th grade science class. Include: a title, clear student instructions, the two column headings, and the content filled in from this passage: [paste your textbook excerpt]. Add a few optional teacher tips.
The [paste your passage] line is what keeps the output from going generic. Give it the actual text your class is reading, and the result comes back about your lesson instead of a textbook average of the topic. Monsha keeps a ready-made version of this prompt you can copy at its graphic organizer prompt page.
You've got a wall of text and a class in the morning. How you get from one to the other depends on the organizer:
That third option is the one worth keeping. Ask a chatbot for a Venn diagram and you get a neat list of what goes in each circle, and then you notice there are no circles. It wrote the words and quietly left you the drawing. For a thinking activity, that gap is the lesson. For a printable you needed ten minutes ago, it's the catch.
So when's the chatbot the right call? When you want the content fast, or when the building is the lesson itself.

Years ago, when I was teaching middle school, I made plenty of organizers that looked great and helped nobody. The boxes were the easy part. So what actually makes one work for a student? It comes down to a handful of habits, and they apply whether you built yours in Monsha or pulled the text out of a chatbot.
Start with what you feed it. A bare topic gives you a generic organizer every time. Give it the actual passage your class is reading, the article, the video, and you get one about your lesson instead.
Then keep it simple. This is the one I wish someone had told me sooner. Jillian Starr, a teacher who blogs about this, said it best: "simple=better when it comes to graphic organizers." The temptation with an AI tool is to let it fill every box and add a little color while it's at it. But a busy organizer is exactly the kind of thing the student it was meant to help will quietly get lost in. Clean spaces and a readable font do more for a struggling reader than another row of prompts.
Here's what helps and what doesn't:
Do:
Skip:
If you're working in a tool built for this, like Monsha, most of that re-leveling is a click off the organizer you already have, a blank copy, an answer key, a grade change, a translation, instead of building each version from scratch.
Organizers aren't the only resource worth building from your own material. The same approach works for worksheets, too.
One last habit, and it's the one that matters most. The goal was never the organizer itself. We model it, lean on it for a while, then take the scaffold away, because the students who outgrow it are the ones it worked for. Hopefully the first one you make this week is one your students eventually outgrow.
You've now seen both methods, and both work well. The real difference is what you're holding when you're done: a finished organizer you can print and assign tomorrow, or quick text and a thinking task you'll shape yourself.
Here's the short version.
Wondering how that's different from Canva or a template site? It's the same split. A chatbot writes you the text and leaves you to rebuild it into a visual. Canva or a template pack hands you a blank layout to fill in by hand. Monsha starts further along: it fills the organizer from your own lesson and sets it at your grade. The slow part was never drawing the boxes. It's populating them with your lesson and leveling them for your class, and that's the part Monsha does for you.
So in my opinion, for a classroom-ready organizer you can print and differentiate today, Monsha is less work. A chatbot stays handy for quick text, or for the days when you want students doing the building themselves.
Most of us don't choose by feature list anyway. We choose by how much of the afternoon is left. Need it leveled and printed for first period? Use Monsha. Want quick text, or a build-it-yourself activity? Open the chatbot. Either way you start from something instead of a blank box.
A finished organizer, built from your own lesson and set near the grade you teach, takes a few minutes now instead of a whole evening. It comes out ready to print, with the easier version and the answer key a click away when you need them.
So pick something you're teaching this week, a passage your class is reading or a video you're about to show, and make one organizer from it. If you want the finished, printable version without rebuilding anything yourself, you can make one free with Monsha's Graphic Organizers tool, no credit card needed. Start from your real material, and your first one is ready before the bell.
And as always, I would love to see what you make for your students.


AI for Teachers
We’re the Monsha Team—a group of educators, engineers, and designers building tools to help teachers combat burnout and get back to life.. Our blogs reflect real classroom needs, drawn from conversations with educators around the world and our own journey building Monsha.
Join thousands of educators who use Monsha to plan courses, design units, build lessons, and create classroom-ready materials faster. Monsha brings AI-powered curriculum planning and resource creation into a simple workflow for teachers and schools.
Get started for free