Discover the top methods to AI generate lesson plans based on any file or image, with and without using ChatGPT, Claude, Copilot or other AI for teachers.
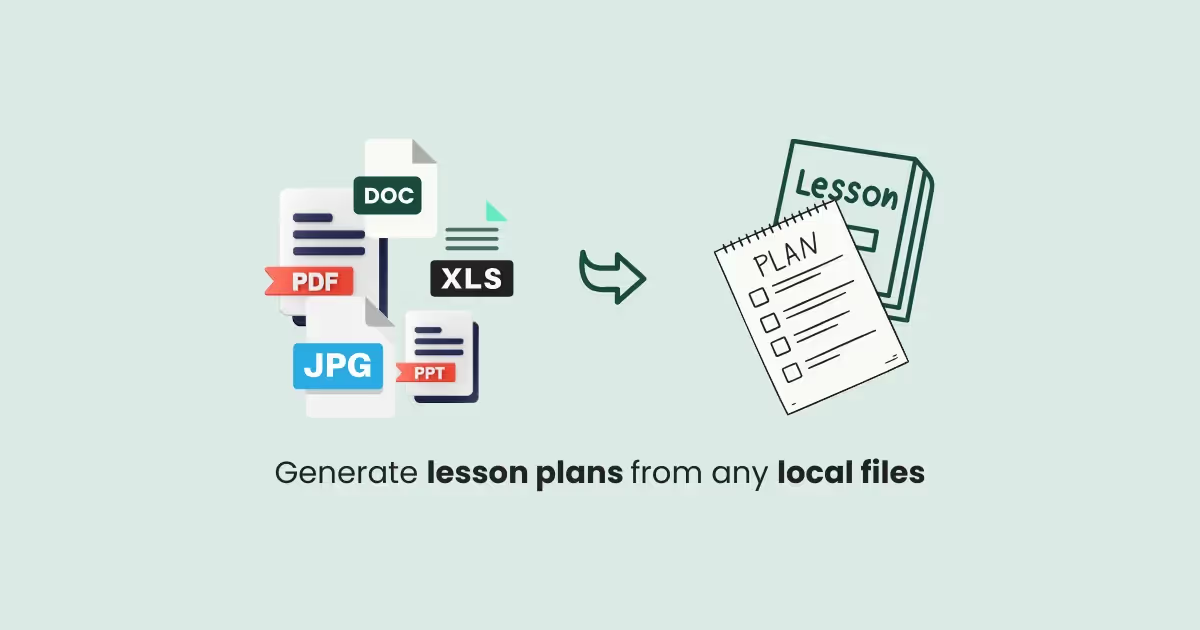
Maybe you have some teaching materials or educational resources stored on your computer or mobile device and want to create a lesson plan based on them. You have several ways to do this.
In this article, we'll discuss two methods, ranked in order of effectiveness.
This is the easiest, quickest, and smartest way—and it's free! Monsha's AI lesson plan generator is a game changer because it reads complex external files and handles the structuring of the lesson plans, so you don't have to worry about writing prompts or all the details.
You can use a file to base your lesson plan on. You can also pull in YouTube videos or external URLs as sources for your plan.
You'll have full control over the template and components of your lesson plan, with the option to align it with specific standards. Plus, you can export it in the platform or format that works best for you.
Here's how to do it:
1. Head over to Monsha and sign up or log in—it takes just two clicks!
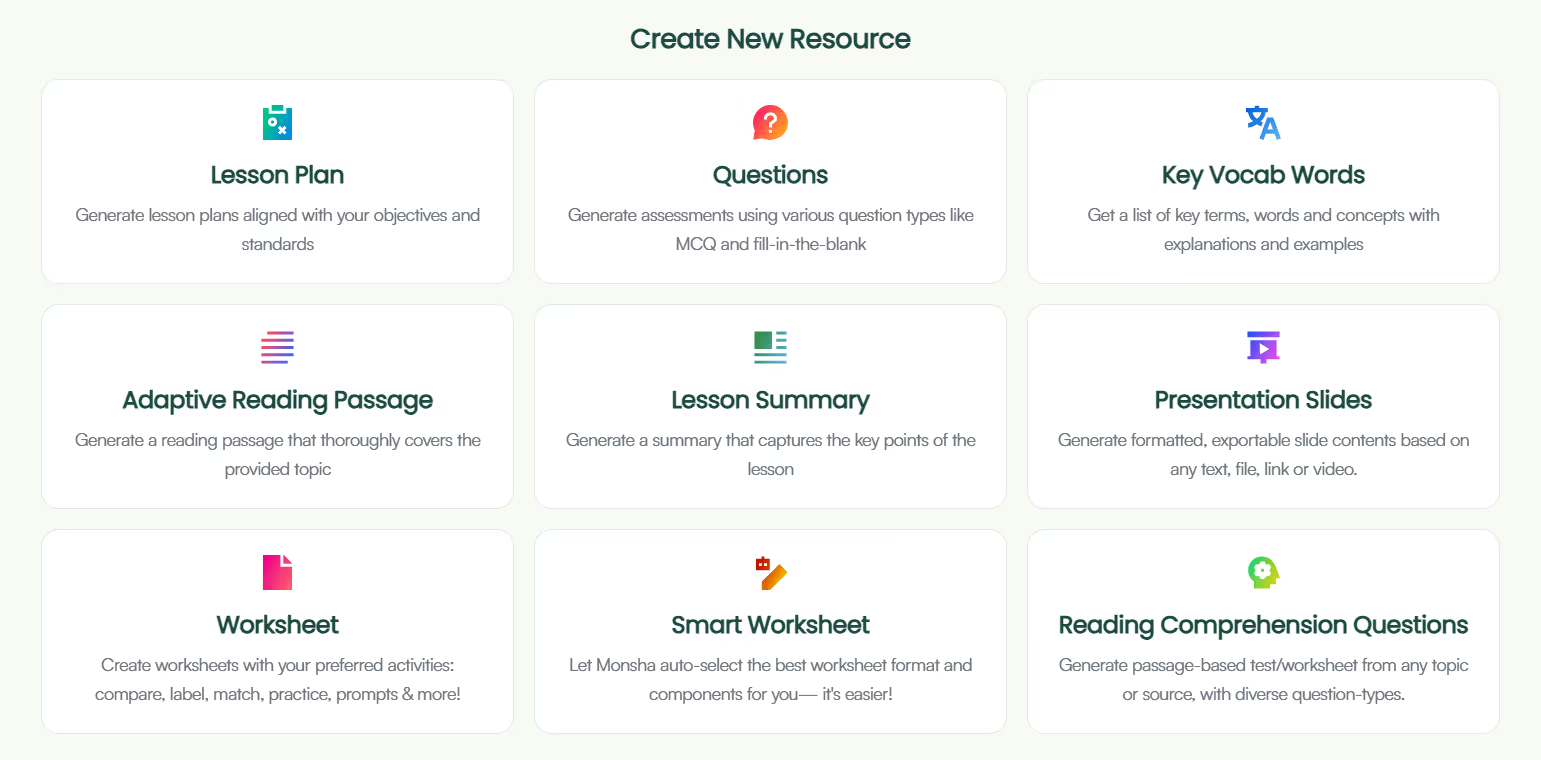
2. Once you're in, you'll see a list of resources to create. Choose Lesson Plan.
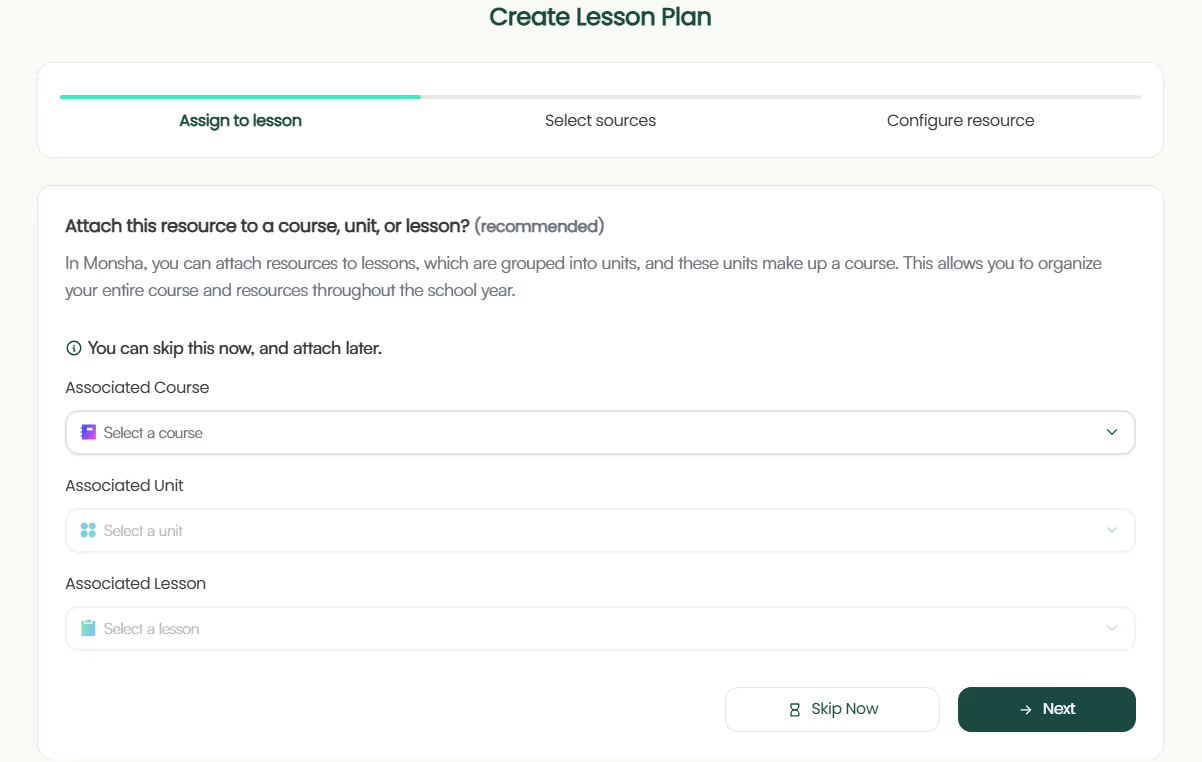
3. You'll be taken to the lesson plan creation page. Here, you can assign your lesson plan to a course, unit, and lesson. This step is optional, but we recommend doing it to keep your resources organized and make the most of Monsha's ability to plan your entire course or subject into units and lessons. But feel free to skip it now—you can always attach or detach your resources from a course later.
4. Next, choose what you want your lesson plan to be based on. You can add a topic, paste a URL, use an article or YouTube video, upload a file or image, or even base it on a resource you've created before in Monsha. You can also combine multiple options if needed.
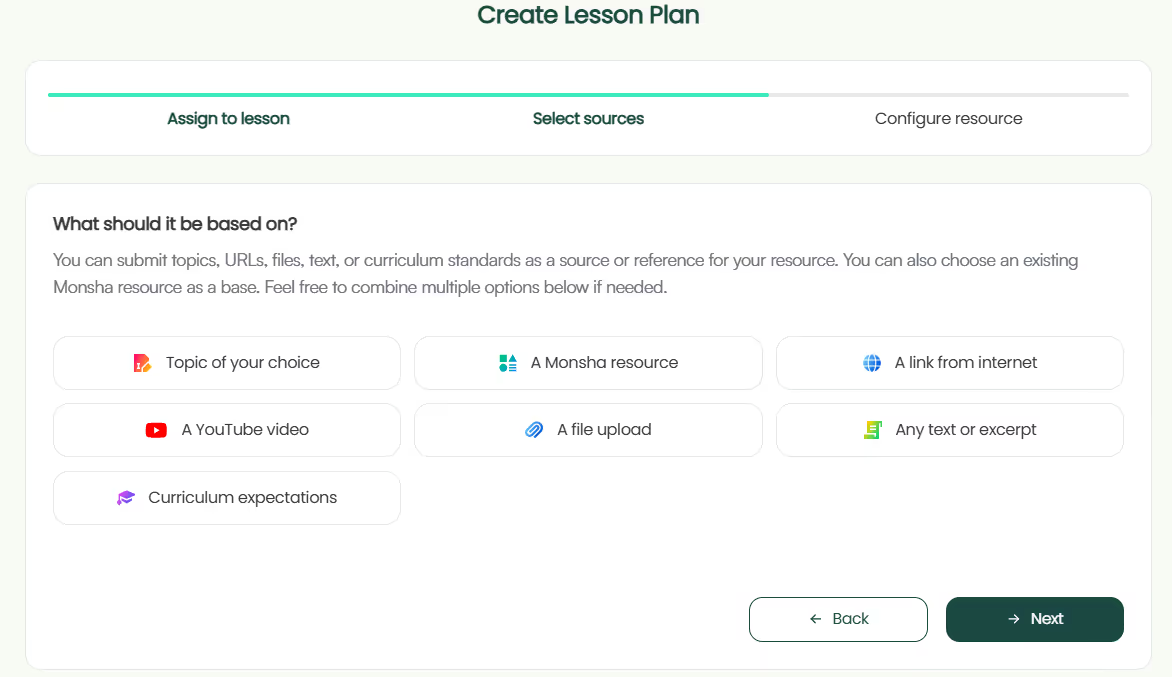
For this tutorial, we'll select A file upload.
5. Select and upload the file from your device. The more readable your file is, the better the output will be.
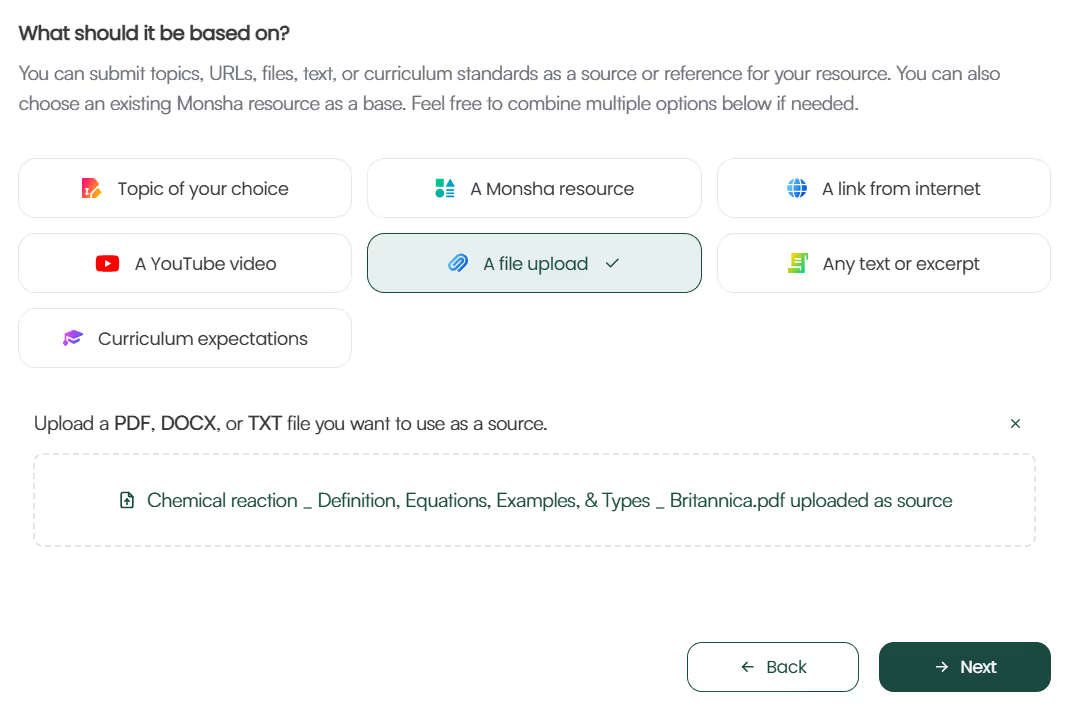
If your file format isn't supported, use a free online tool to convert it to a compatible format.
6. If you didn't assign a course in the earlier step, you'll need to select the grade level and language in this step.
7. Finally, choose the components you want to include in your lesson plan. Select only the ones you need and in your desired order. Currently, the available options are:
✅ At a glance
✅ Objectives & Learning Outcomes
✅ Standards Addressed
✅ Material & Resources Needed
✅ Key Concepts
✅ Assessment and Evaluation
✅ Differentiation Strategy
✅ 21st Century Skills / College & Career Readiness Skills
✅ Instructional sequence
Feel free to also include any additional instructions you might have.
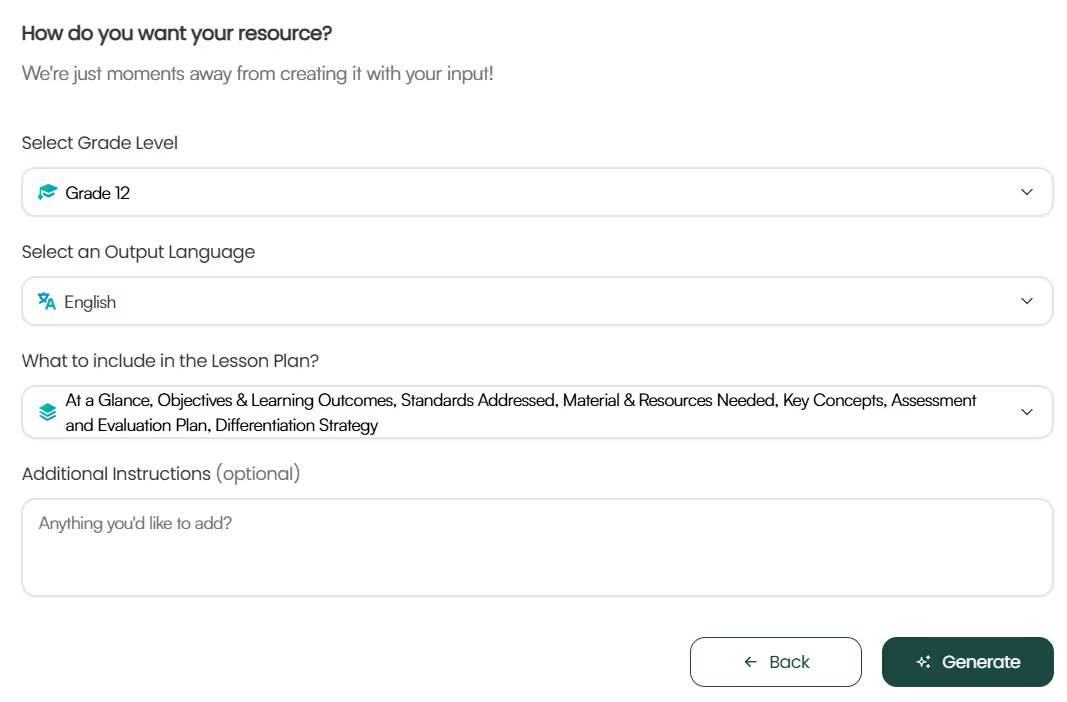
8. Optionally, you can assign a DOK level, Bloom's Taxonomy level, or Lexile reading level to adapt your lesson plan.

9. Click Generate, and your lesson plan will be ready in seconds!


While we've focused on files and images here, you can generate lesson plans from different source materials the same way.
But there's even more power in your hands! Once you generate the lesson plan, you can:
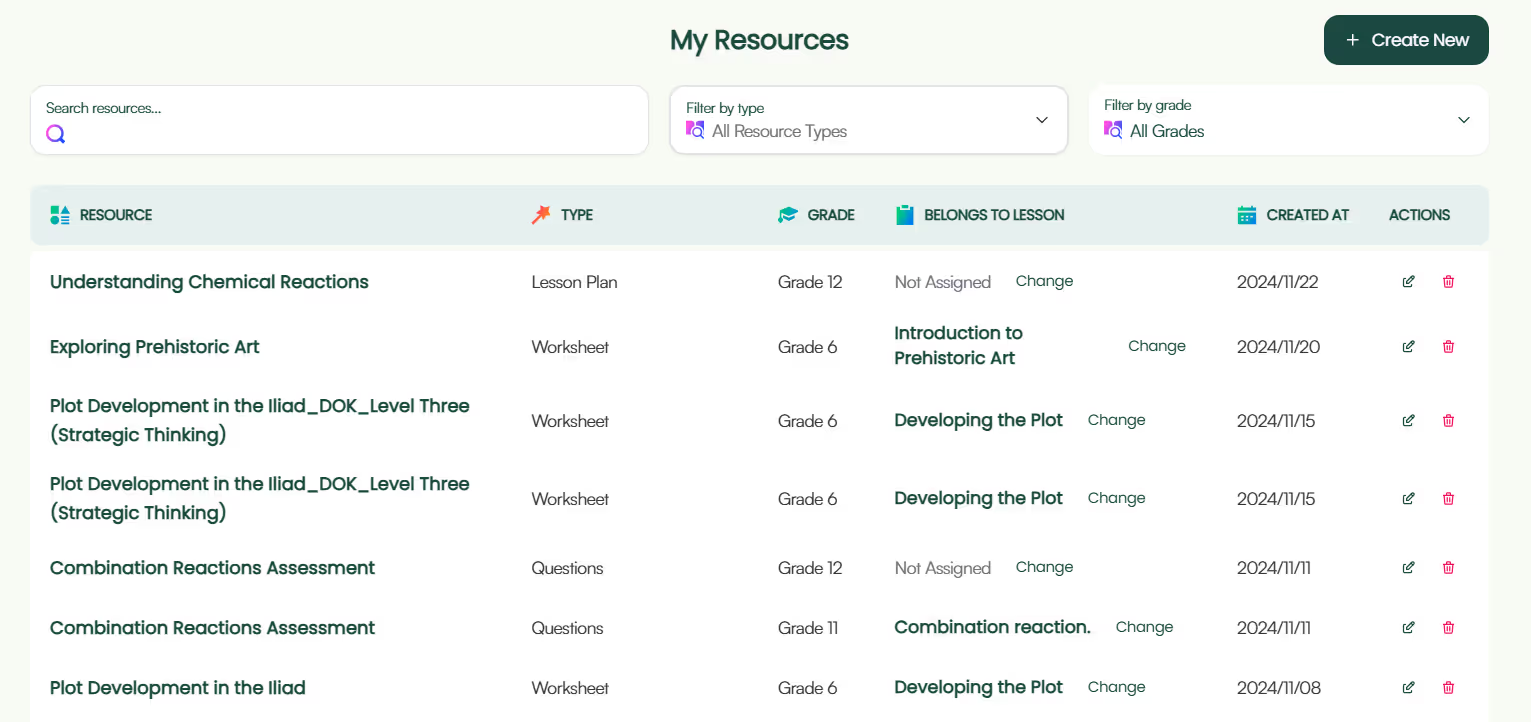
You can always access your lesson plan later from your Monsha account.
Easy, right? Now, let's move on to an alternative method.
P.S. Are you in our Facebook community?

ChatGPT and Claude now allow you to upload documents in their free versions. So let's utilize that.
The steps are more or less the same for both chatbots. For example, here are the steps to follow in ChatGPT:
1. Sign in to your ChatGPT console and make sure you've selected the GPT-4o model.
2. Upload the file you want to use as a source.
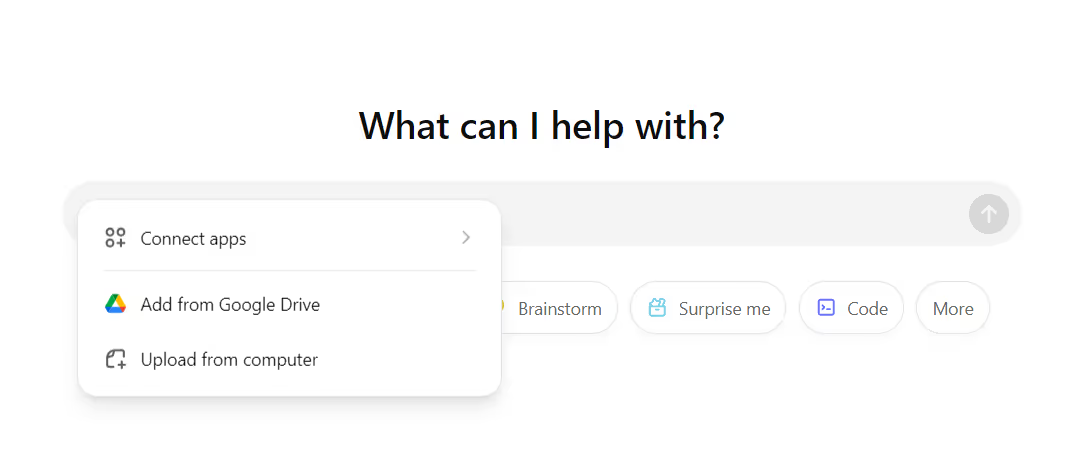
3. Now start prompting with something like this:
html You are an expert teacher and educator, skilled at creating effective and detailed resources for your students. Now write down all the key points discussed in the content of the attached file.
4. You might want to follow up with ChatGPT to brainstorm different ways to present the topic to your students:
html Can you suggest some engaging ways to teach these lessons in my class?
5. Organize these ideas into a structured lesson plan:
html Based on the ideas and lessons we've brainstormed, can you create a structured lesson plan for teaching this lesson in my class? It should include Objectives, Key Points, Standards Addressed, Evaluation, Differentiation Strategy, and Classroom Activities. Class duration is 60 minutes.
6. Additionally you can ask ChatGPT to find educational videos or resources to supplement the lesson plan
html Can you search the internet for some additional educational videos and articles on this lesson?
7. To be extra careful, review the lesson plan and make any necessary refinements. ChatGPT can provide feedback on your lesson plan.
html Review the lesson plan based on what we have discussed so far and suggest improvement. Format it properly.
8. Finally, download it as a doc or pdf:
html Turn the lesson plan into a downloadable PDF and a DOCX file and give me the download links.
You can reduce the number of follow-ups though by using well-structured AI prompts for lesson planning.
Caution: If you're using the free version of ChatGPT or Claude, there's a capped message limit that varies based on system load. So if your document contains too much text for the AI to process, consider instructing the AI to summarize the content first.
Feel free to try both of these methods and see what works best for your workflow. If needed, check out other AI lesson planning tools. Pretty sure you'll find Monsha to be the ideal choice—not because we're biased, but because we designed Monsha to give teachers an easy, iterative, and super-quick way to create just-right resources. Give it a go!

AI for Teachers
We’re the Monsha Team—a group of educators, engineers, and designers building tools to help teachers combat burnout and get back to life.. Our blogs reflect real classroom needs, drawn from conversations with educators around the world and our own journey building Monsha.
Join thousands of educators who use Monsha to plan courses, design units, build lessons, and create classroom-ready materials faster. Monsha brings AI-powered curriculum planning and resource creation into a simple workflow for teachers and schools.
Get started for free